Quickstart
Configuring a local dedicated server using the EAH client/agent
The Empyrion Admin Helper (EAH) ships as part of the official Empyrion dedicated server installation. But it can also be downloaded here
In the following we will configure a clean installation of the Empyrion - Galactic Survival Dedicated Server out of the box using EAH to configure, start, and stop the game on a local server.
Installation:
Before we can start you need to install the software. On the machine that you plan to use as a dedicated server install the Steam client and once that's done install "Empyrion - Galactic Survival Dedicated Server". The dedicated server software is located under "Tools" in your Steam library and does not require you to own "Empyrion - Galactic Survival". You can install the dedicated server software with a right-click the same way you did the game.
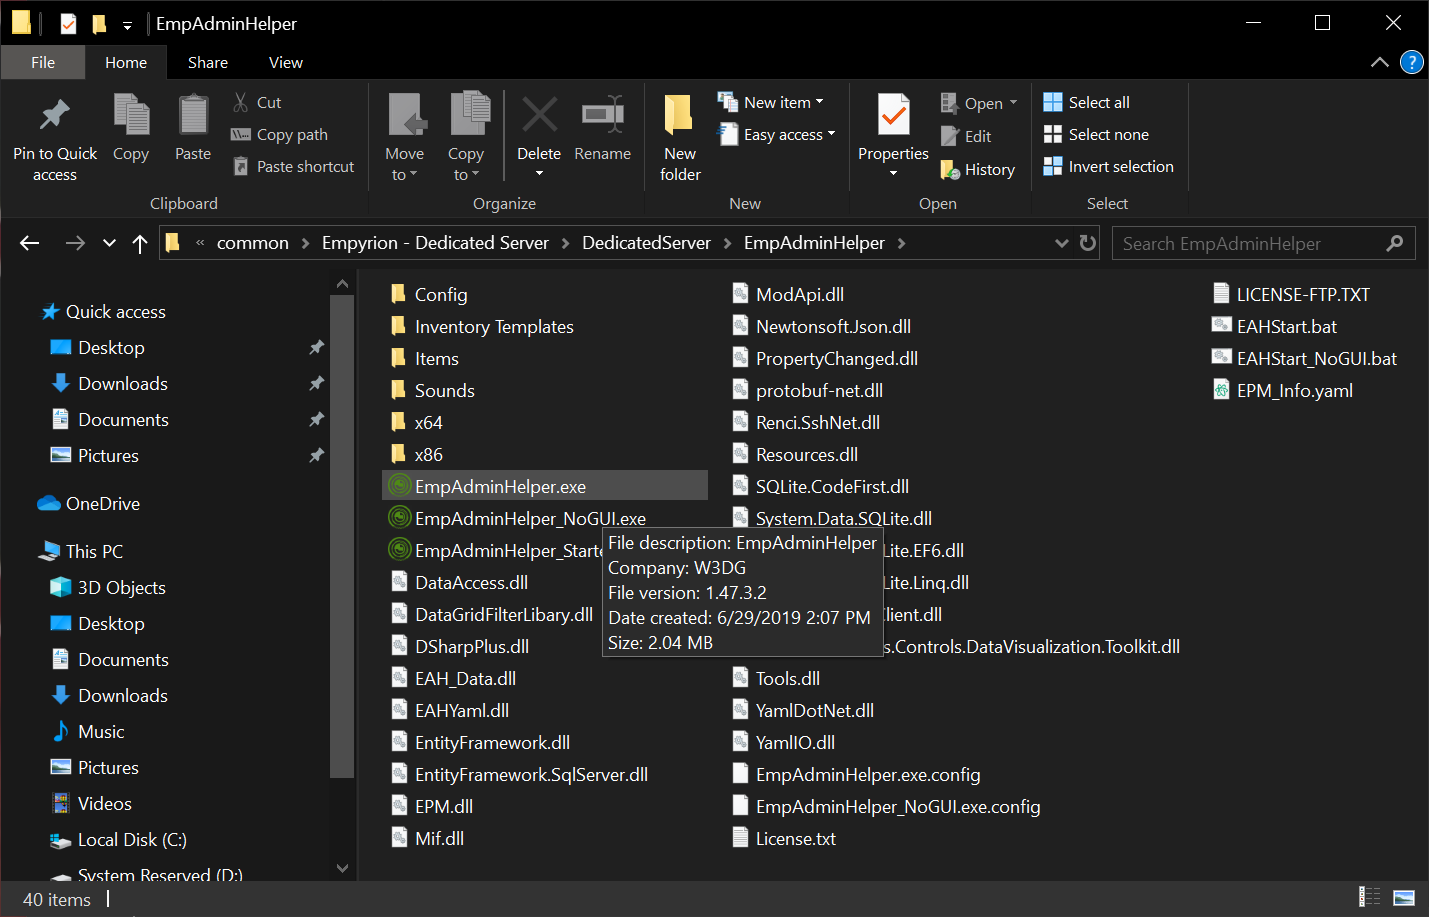
The dedicated server installation creates a folder structure similar to the basic game installation with a few things missing and some new things the single player game doesn't need. One of these is the Empyrion Admin Helper ([queue trumpet fanfare]) ... use windows explorer to navigate to the file "EmpAdminHelper.exe" in that folder and then right-click on it in order to pin to taskbar, create a shortcut, or pin to start menu as you prefer.
First EAH start:
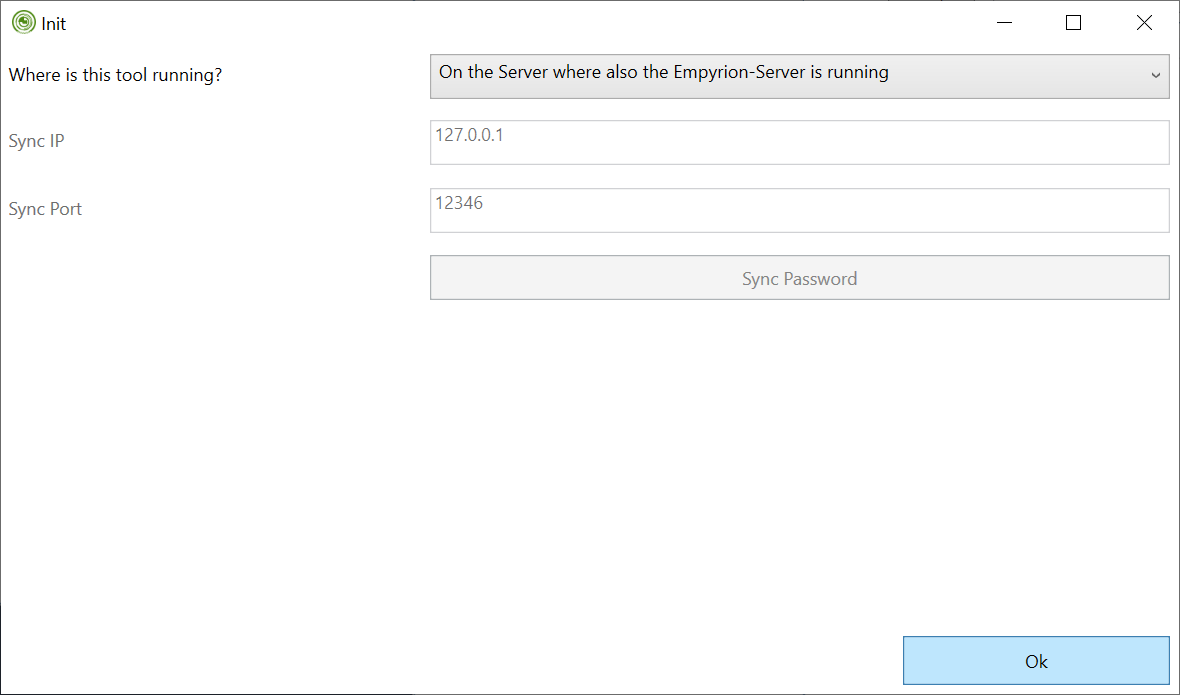
Now launch the tool for the first time - you'll be presented with a dialog asking if the tool will be managing a server that runs on the same machine ... press "OK" to say yes.
After that you are presented with the initial settings for the server and game configuration. Since this is a quickstart we'll stick with the defaults.
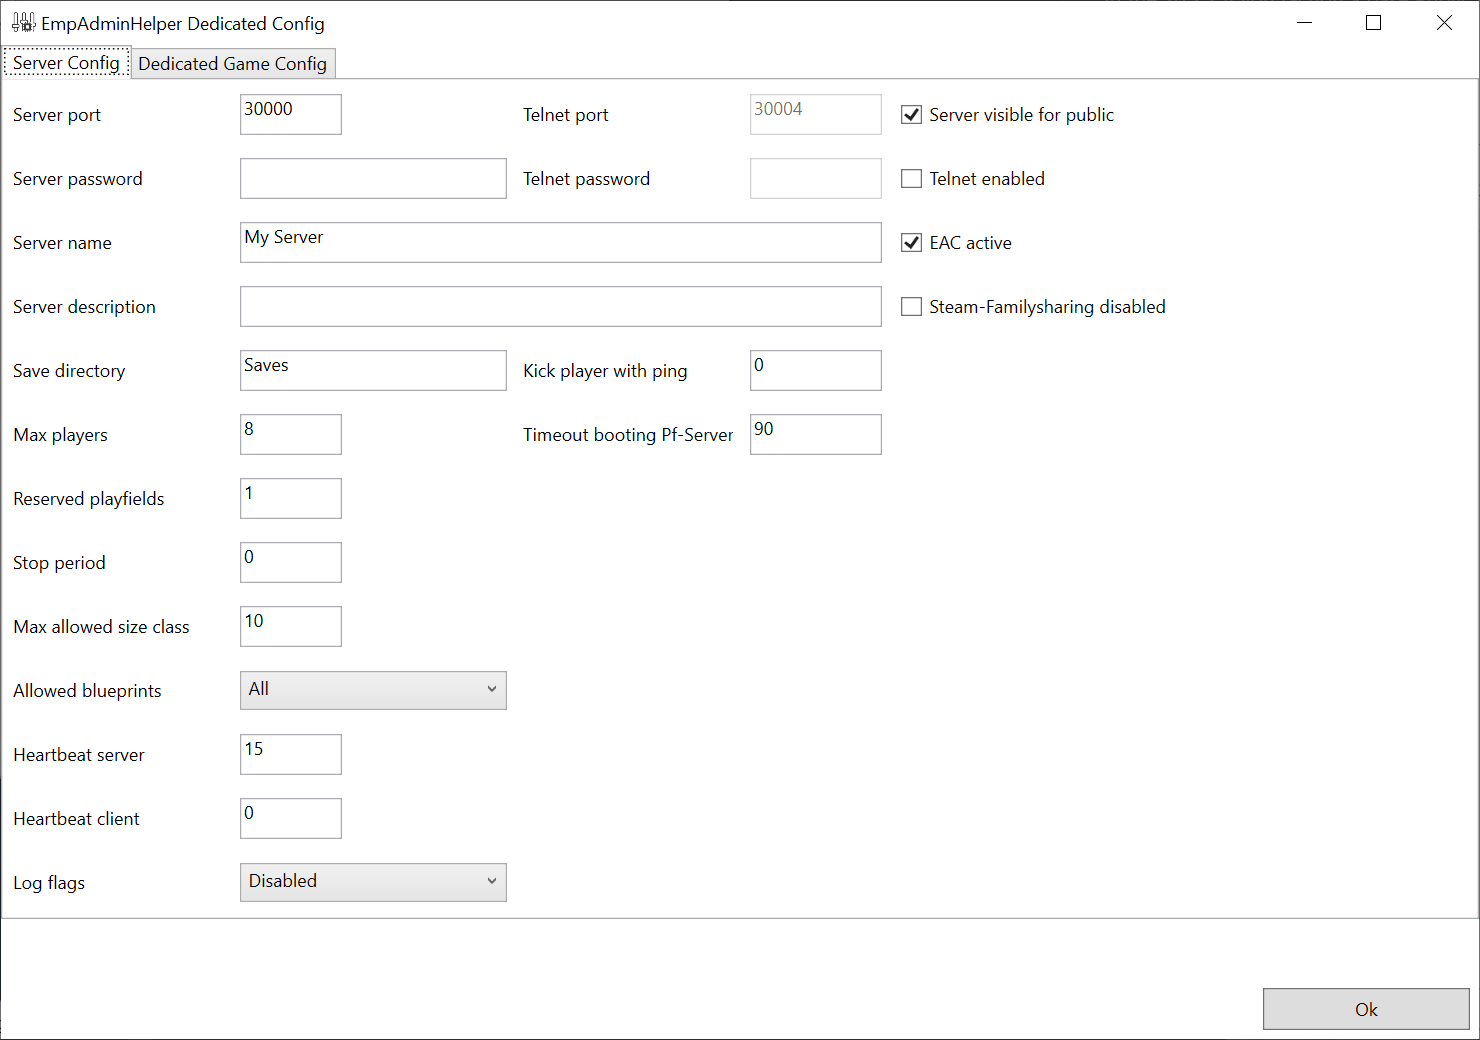
Default server configuration creates a server instance that communicates on this machine's ip port 30000. The server is visible to the public and has no password. In the client's "Join Game" menu it will be named "My Server" and have no further description. Additional parameters follow that help in tuning and server monitoring.
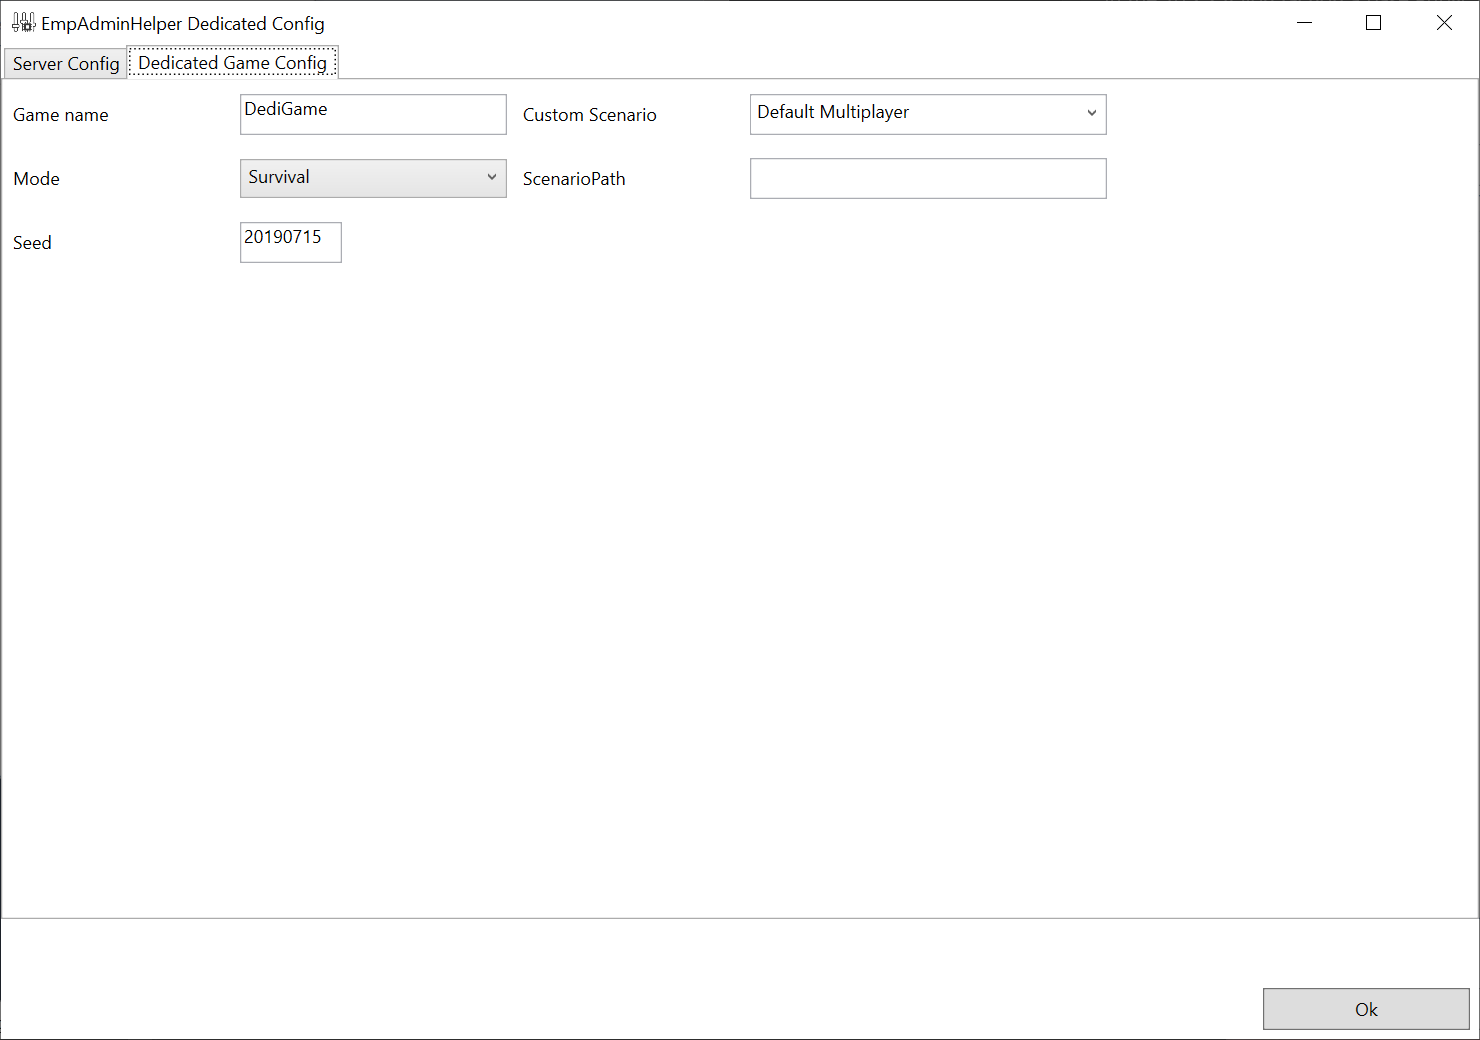
After server configuration, click the "Dedicated Game Config" tab to see basic scenario settings and the seed that will be used to create the unique playfields for your game.
After any parameter changes you'll see this dialog - a reminder that before you can apply changes that you'll need to exit the tool to save modified configuration files.
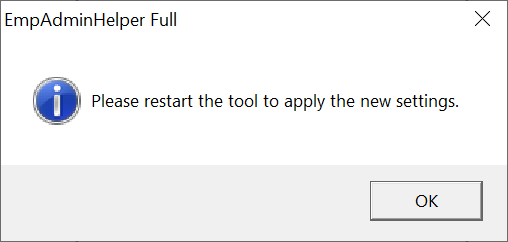
We've made all of our changes (none) so click OK and the exit the tool. Once it's closed open it back up again. You should be presented with a screen like this.
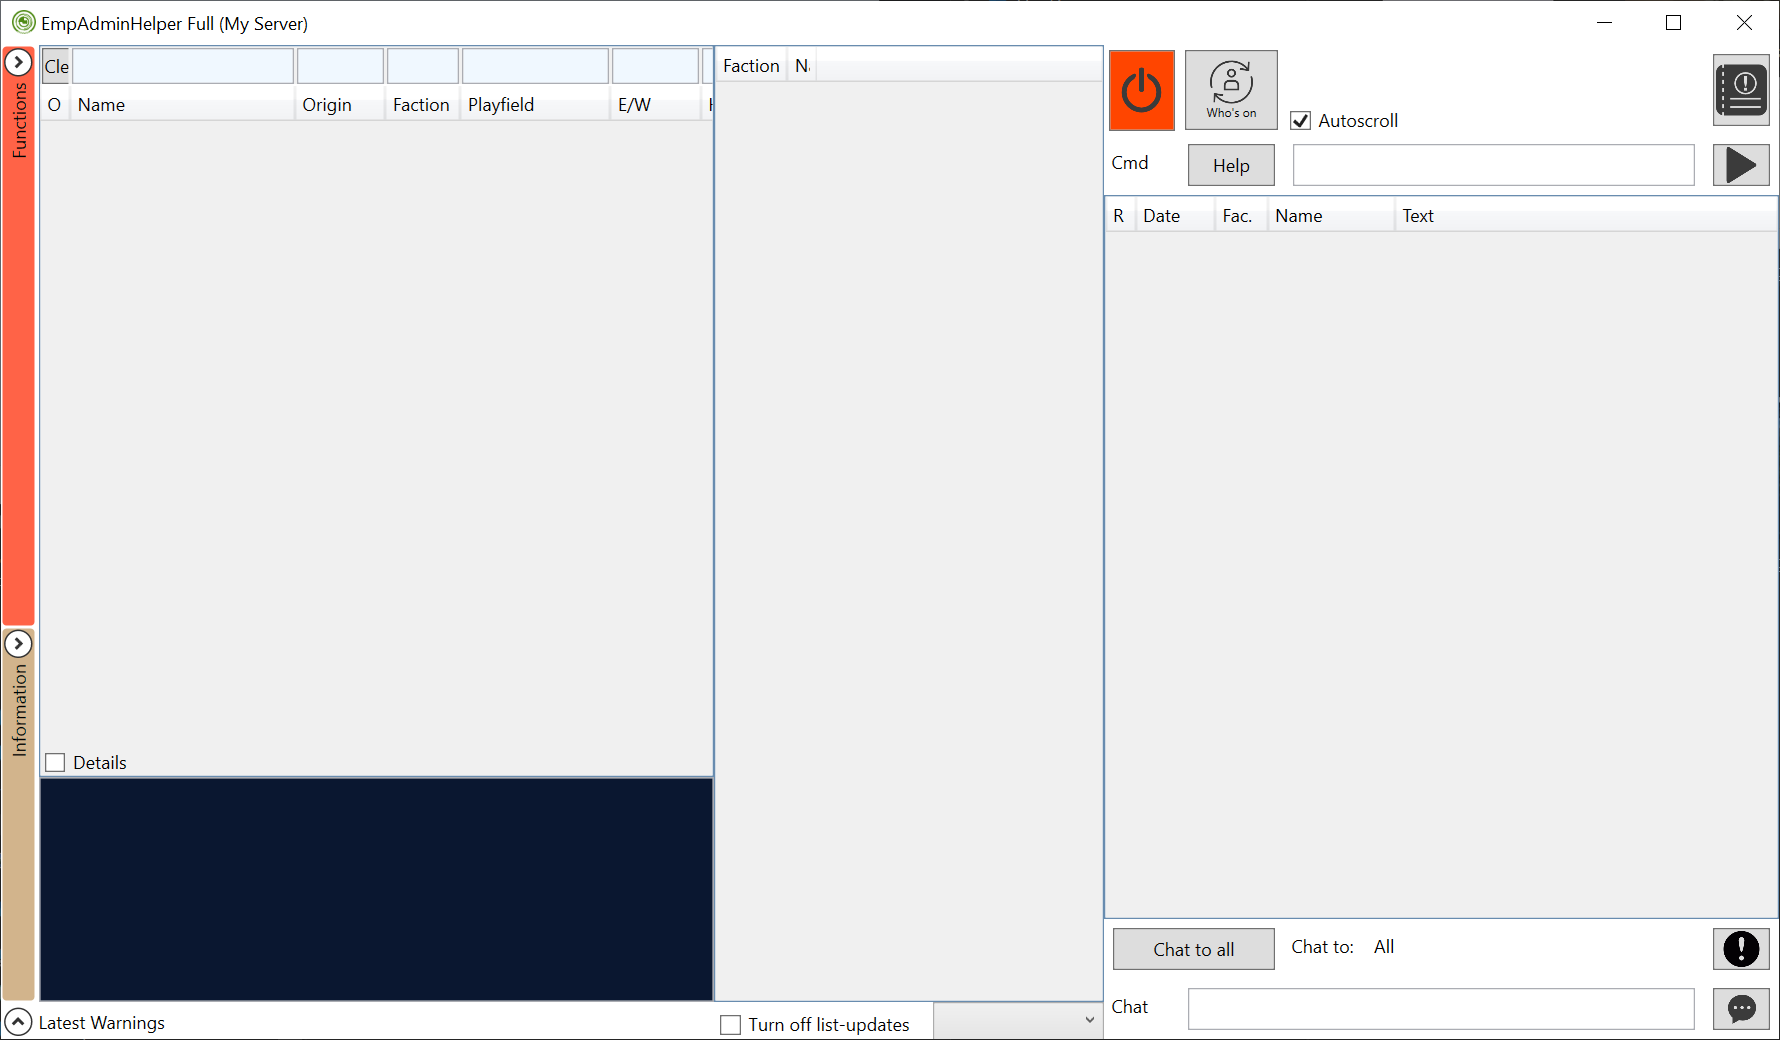
Click on "Functions" to open the fly out menus and then select "Server" to see a group of button tiles that let you start and stop the server, create backups, and perform other server related maintenance tasks. Click on "Start Now" to start your new game for the first time.
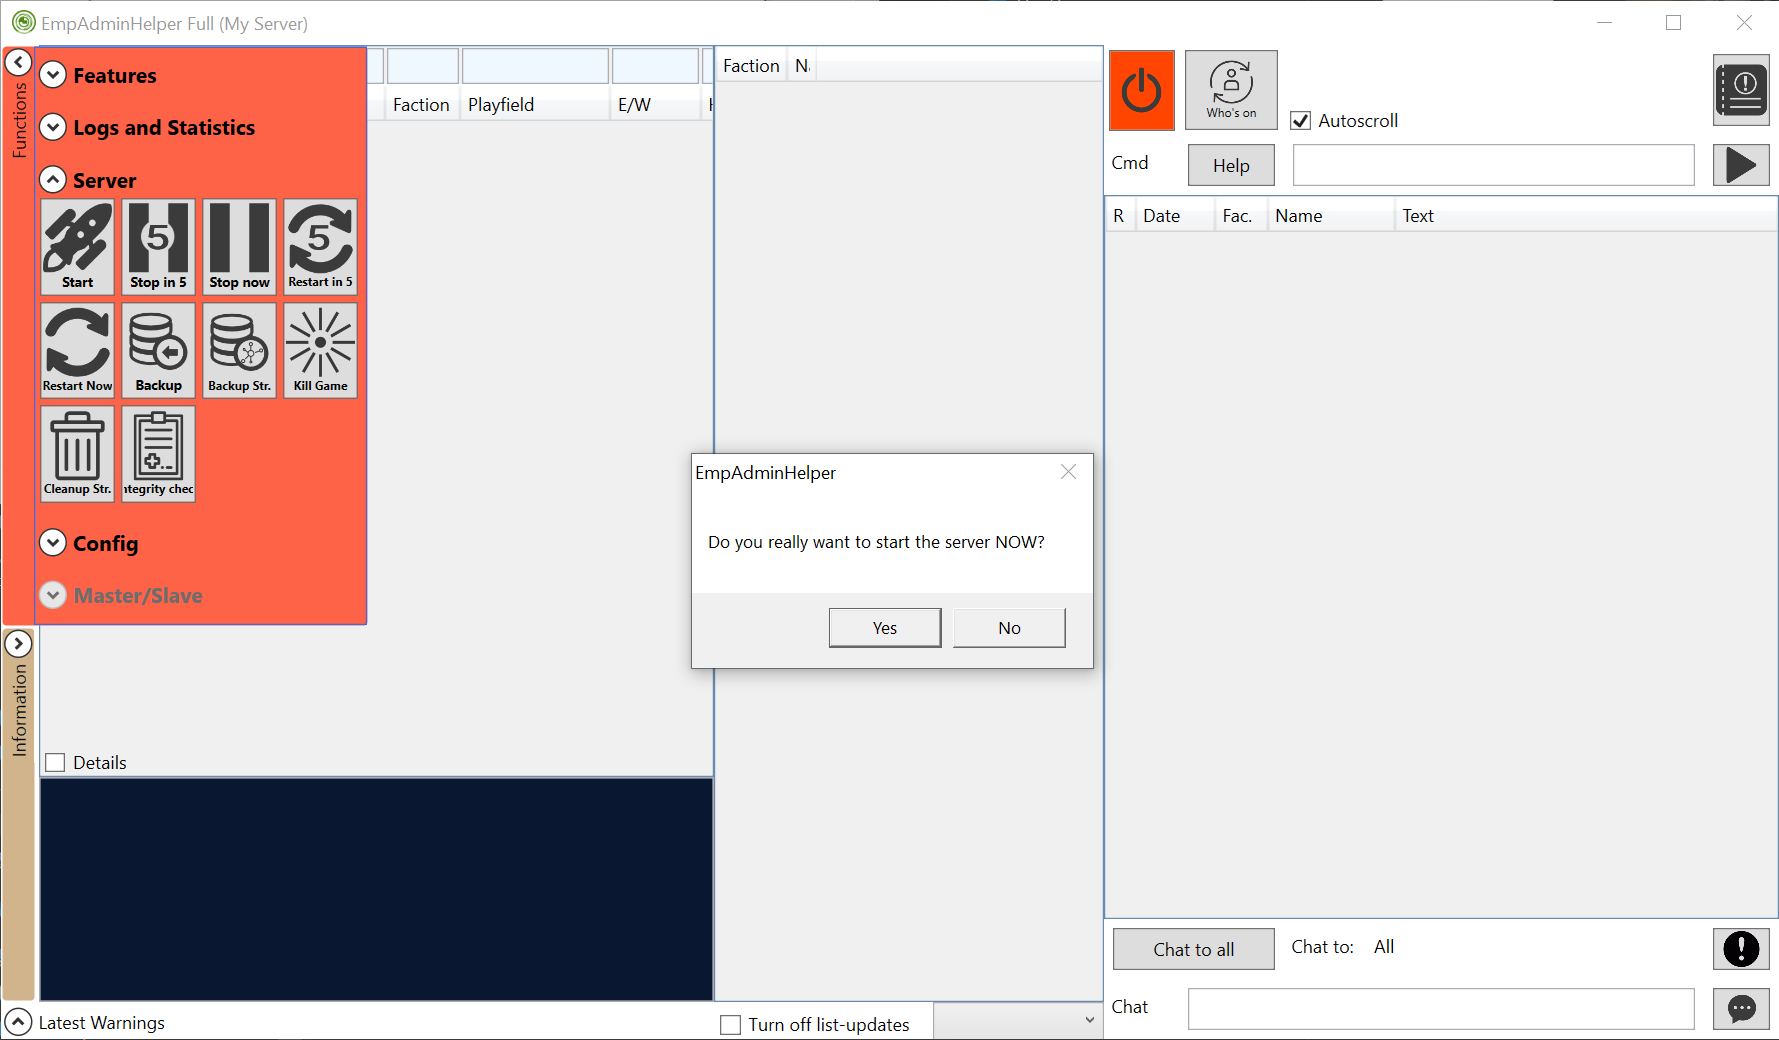
After doing so a dialog will appear asking "Do you really want to start the server NOW?" Of course you do! Click OK ... and if everything works as it should the red power on icon will turn green (signifying the game is running) and the icon's field will turn green (signifying a connection to the game API has been established) ... if so your new world is ready for its first crash landing!
Start the game:
Open the "Empyrion - Galactic Survival" game client application. Doing this on the same machine the server is running on will let you bypass networking and potential issues with finding the server. Instead choose to "Join a Game" and where it says "Direct IP and Port" in the screen that follows enter the address 127.0.0.1 which is a loop back reference telling the machine to talk with itself.

With luck you will be presented with the opening selection for the default multiplayer scenerio, choosing which planet will be the starter.
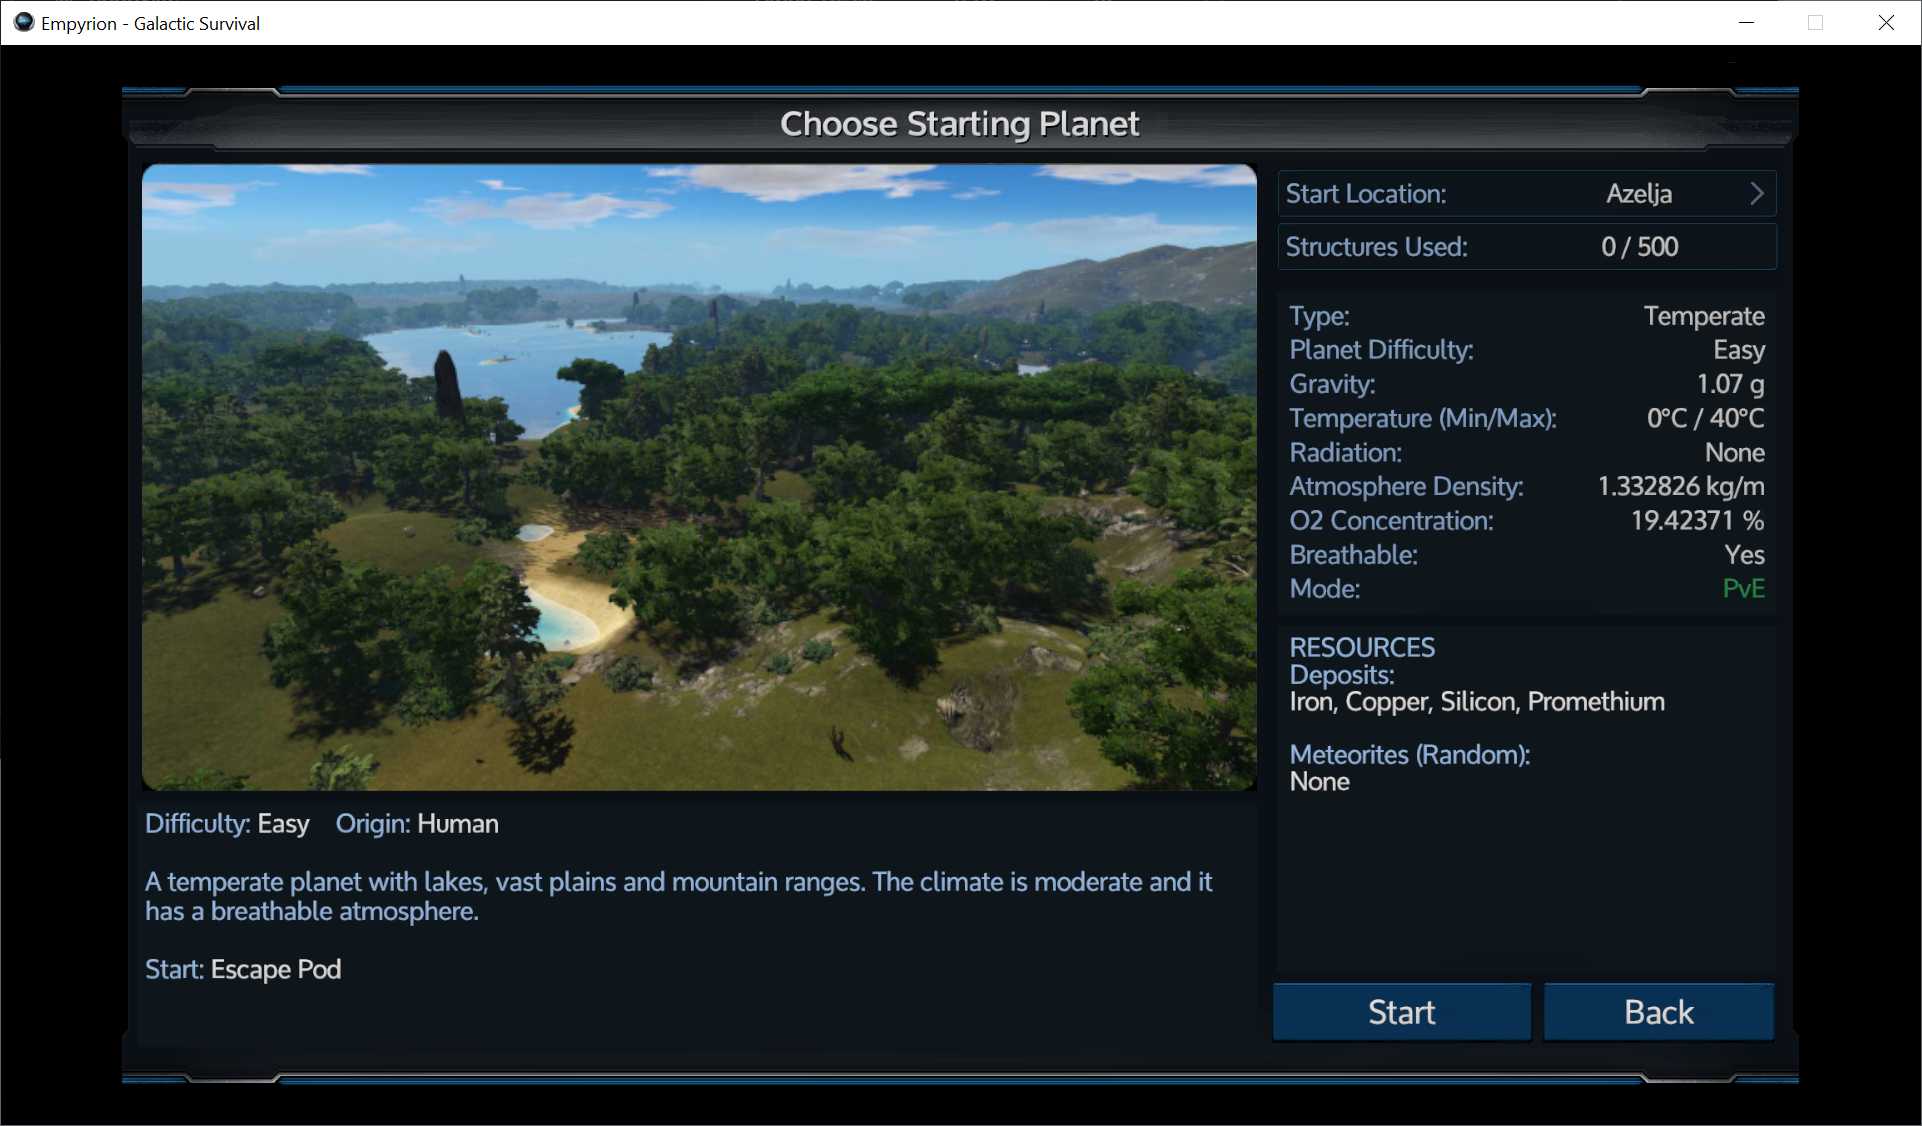
Compare your choices and pick one. Once you commit and after a short delay you should find yourself hurling towards the planet.
Thanks for the documentation contribution by imlarry425